Tried and tasted by Nivedita
Hi All,
I am really sorry for not posting since many days. I got stuck with many things and was not in position to write for a blog.
Coming to the recipe,
This 2 minute wonder cake is a real wonder cake which is ready in exactly 2 minutes(plus 5 minutes for ingredients) and perfect for the evening snack for kids with a glass of milk.

First time I tried this Microwave Chocolate Cake and it was just superb.
This time (promoted from Beginner to middle lever baker!!!) I thought of adding something else to this and try.
Here is the recipe
Ingredients:
APF OR MAIDA- 1 tbsp
Wheat flour - 2 tbsp
Oats - - 1 tbsp
Sugar - 4 tbsp
Unsweetened Cocoa powder - 2 tbsp
Egg - 1
Milk - 3 tbsp
Oil - 3 tbsp
Baking Powder - 1 pinch
Vanilla Essence - 1 tsp
Chopped nuts - 1 tbsp(I used almonds and walnuts)
Choco chips- 1 tbsp
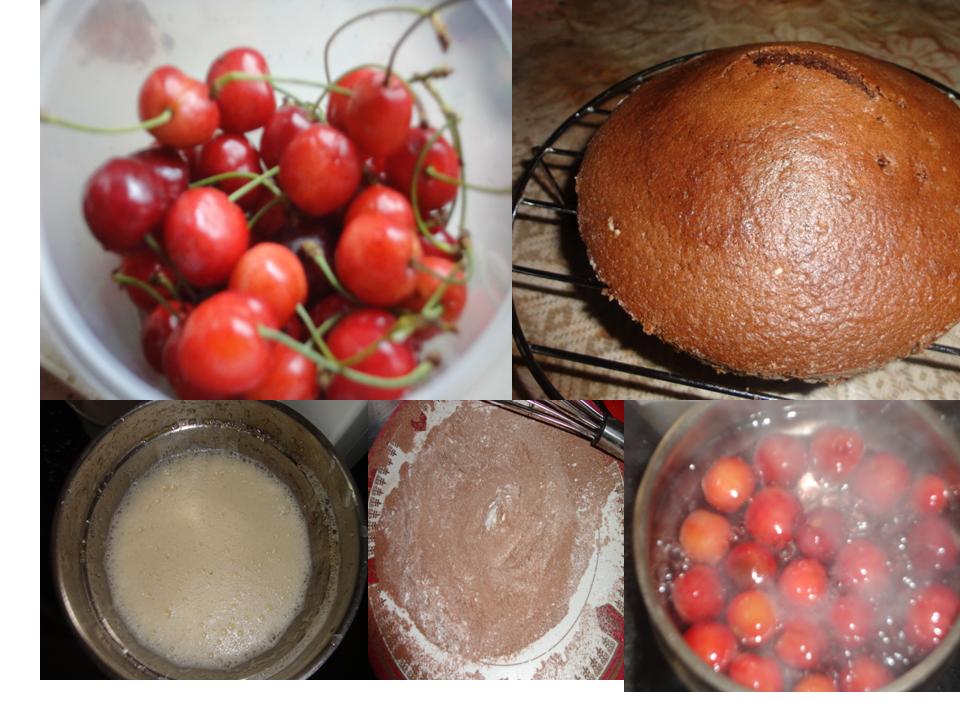
Method:
Sieve the APF, Cocoa powder and baking powder in a plate.
Mix egg, milk, oil, Essence and sugar in a bowl. Add the sieved flour and mix well till everything gets mixed and you will get one flow batter.
Add the nuts.
It takes 2 to 3 minutes.
(Mix well with egg beater or with a fork.(don't use blender))
Grease a mug or any Microwave safe bowl and dust it with APF. Pour the batter into it.
I used the rectangle box.

Microwave on full(I have 800 power) for ONE minute.
Take it out and add the chopped chips without touching or disturbing the cake.
Microwave exactly for ONE MORE MINUTE.Let it stand in the M/W for few minutes
your yummy, healthy cake is ready to serve.
This is my last minute entry to
which is a brain child of Pari and this time guest hosted by Harini

Keep Smiling,